
A webcam adds a human face to a recording or a stream. Viewers can see your reactions, follow your explanations more easily, and feel that a real person is behind the screen. In OBS Studio, a webcam is just another source: you add it as a Video Capture Device, place it in your scene, and adjust its size and position like any other source. The steps are simple, but the result depends on a few details that are easy to miss, such as choosing the right camera when you have more than one, setting a sensible resolution, and framing the shot so your face is clear and well lit.
This guide covers the whole process, from plugging in the camera to fixing a black screen, and it includes practical advice on framing, cropping, chroma key, multiple cameras, and audio. It does not assume a particular camera model, and it does not promise a particular picture quality on any specific hardware. Results depend on your camera, your lighting, your computer, and your settings. If you are new to OBS, start with our guide to using OBS, and for the video settings behind this guide, see our best OBS recording settings guide.
Before you add the webcam
Before you open OBS, plug in the webcam if it is external, and close any other program that might be using it, such as a video call app or a browser tab with camera access. Most systems allow only one program to use a camera at a time, so OBS may show a black screen if another app already has the camera. Position the camera at about eye level, facing you directly, with a light source in front of you rather than behind you. A window or a lamp behind you will turn you into a silhouette, while a light in front of you will light your face evenly.
Think about what is behind you as well. A plain wall, a tidy shelf, or a simple background is less distracting than a messy room or a bright window. Sit at a comfortable distance so your head and shoulders fill a good part of the frame, with a little space above your head. If you wear glasses, angle the light slightly so it does not reflect in the lenses. These small choices cost nothing and make more difference to the result than a small change in resolution.
Adding a Video Capture Device step by step
Adding a webcam in OBS uses the Video Capture Device source. The steps below work for a built-in laptop camera, a USB webcam, and most capture devices that present themselves as a camera. If your camera does not appear in the list, check that it is plugged in, that no other program is using it, and that your system has given OBS permission to use the camera.
- Open OBS Studio and choose the scene where the webcam should appear.
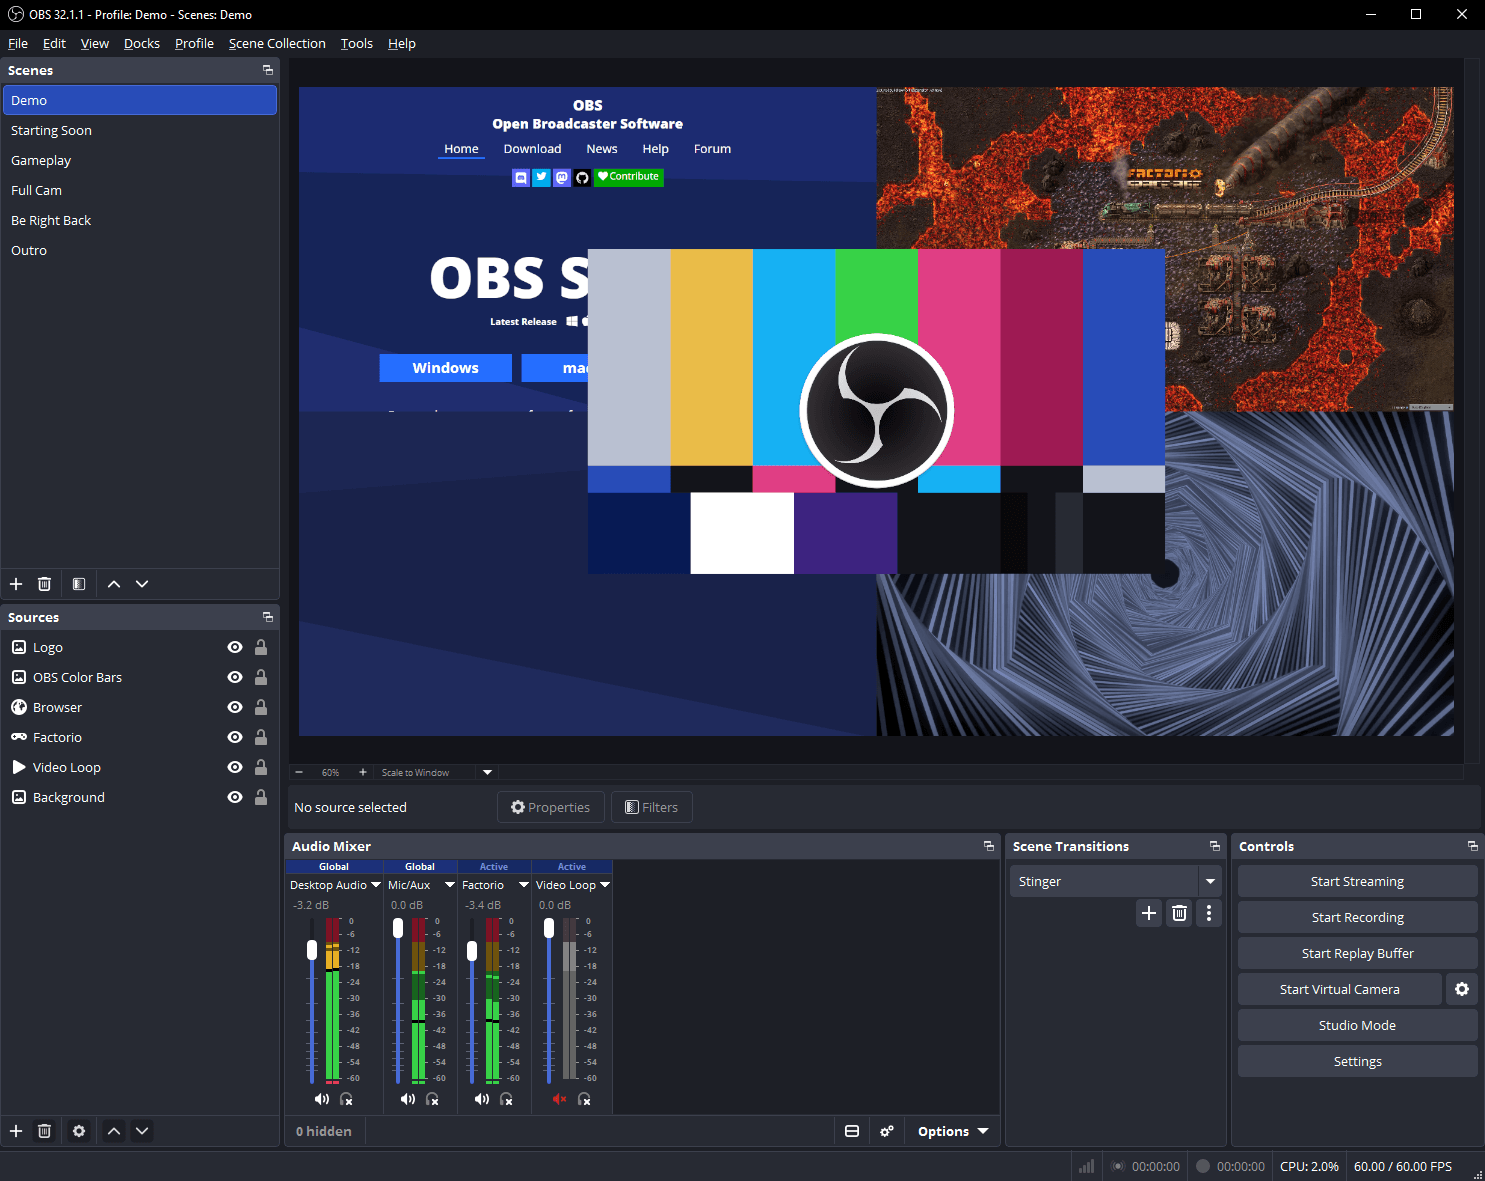
- In the Sources panel, click the plus button and choose Video Capture Device.
- Give the source a clear name, such as Webcam, and click OK.
- In the Device list, choose your camera. If you have more than one, check the name carefully.
- Choose a resolution and frame rate, or leave the preset, then click OK.
- Drag the webcam in the preview to move it, and drag a corner handle to resize it.
- Record a short test and watch it back to check framing, focus, and lighting.
If the picture appears but is the wrong way round, or too dark, open the source properties again and check the device settings. Some cameras offer their own settings for brightness, focus, and white balance, either in OBS or in the camera maker's software. Change one setting at a time and test again, so you know which change helped.
Resolution, frame rate and video format
Most webcams offer several resolutions, and the highest one is not always the best choice. If your webcam appears as a small picture-in-picture in the corner of a 1080p recording, a resolution of 1280 by 720 is usually enough, because the picture is displayed at a small size anyway. Recording the webcam at its highest resolution in that case adds workload without a visible benefit. If the webcam fills the whole screen, for example in a talking-head video, a higher resolution such as 1920 by 1080 may be worth using, provided your camera and computer handle it smoothly.
Frame rate matters for movement. Thirty frames per second is smooth enough for talking and gesturing, and it is a sensible default. Sixty frames per second can look smoother, but it doubles the work for the camera and the encoder, and many webcams do not support it at their highest resolution. The video format option in the source properties, such as MJPEG or YUY2, affects how the camera sends the picture to OBS. If one format stutters or looks wrong, try another, and restart OBS after changing it. Keep the setting that stays smooth in a full test recording.
Framing, cropping and transforming the picture
Framing is about where you sit in the picture. Aim for your eyes to be about a third of the way down from the top of the frame, with your head and shoulders visible and a little space above your head. Avoid sitting so close that the top of your head is cut off, or so far away that you are a small figure in a large room. If the camera is below eye level, it will look up at you; if it is above, it will look down. Eye level is usually the most natural angle.
Cropping removes unwanted edges without changing the camera position. Hold the Alt key while dragging a handle to crop a source in OBS, or right-click the source, choose Transform, then Edit Transform, and set the crop values by number. You can also use Transform to flip the picture horizontally if it appears mirrored, or to rotate it if the camera is mounted sideways. If you want a round or soft-edged webcam, add a mask or a filter, but keep the effect simple: a clean rectangle in a consistent corner is easier for viewers to follow than a shape that changes from scene to scene.
Chroma key and background options
Chroma key removes a solid-coloured background, usually green, so only you appear on screen and the game or presentation shows through behind you. It works best with even lighting on the background, a clear distance between you and the background, and clothing that does not match the background colour. In OBS, right-click the webcam source, choose Filters, add a Chroma Key filter, and adjust the similarity and smoothness until the background disappears without cutting into your hair or shoulders.
Chroma key is not the only option. A plain background, a simple blur, or a virtual background from your camera software can look cleaner and is far easier to set up. If you do not have a green screen, do not force chroma key: a tidy real background usually looks better than a poorly keyed green screen with flickering edges. Test the result on a recording, not just in the preview, and check the edges around your hair and shoulders, where keying problems are most visible. If the edges flicker, improve the lighting on the background before you change the filter settings.
Using two cameras, virtual camera and scenes
You can add more than one camera to OBS, but each camera should have its own Video Capture Device source with a clear name, such as Webcam Main and Webcam Second. Use the second camera for a different angle, a close-up of your hands, or a guest, and place it in a separate scene so you can switch between angles. Do not add the same camera twice in one scene, because most systems will not let two sources use the same camera at the same time.
The virtual camera feature in OBS sends your OBS output, including your webcam and overlays, to other programs as if OBS were a webcam. That is useful for video calls and presentations, where you want the other person to see your OBS scene. Start it from the Controls panel, then choose OBS Virtual Camera in the other program. Remember to stop it when you finish, and check that the other program is using the virtual camera and not your real one. For scene design, see our guide to overlays and scenes in OBS.
Webcam audio and sync
Many webcams have a built-in microphone, and OBS may add it as an audio source when you add the camera. That microphone is convenient, but it is usually further from your mouth than a dedicated microphone, and it can pick up room noise and keyboard sounds. If you have a separate microphone, use that for your voice and disable the webcam microphone in the Audio Mixer, or set its volume to zero, so you do not record two microphones at once.
If the webcam picture and your voice drift apart, check the sync offset in Advanced Audio Properties for the audio source. A small delay, often a few hundred milliseconds, can bring them back together, but you will need to test with a clap or a click to find the right value. Also check that the webcam is not being used by another program, because that can cause lag or a frozen picture. Our OBS audio settings guide explains levels, filters, and separate tracks in more detail.
Common mistakes
The most common mistake is adding the webcam and never checking the test recording: the camera is too low, the light is behind you, or the wrong camera is selected, and you only notice after a long session. Another mistake is making the webcam too large, so it covers important parts of the game or presentation, or too small, so your face is hard to see. People also leave the webcam microphone on while using a better microphone, which creates echo or a hollow sound.
- Leaving another program using the camera, so OBS shows a black screen.
- Sitting with a bright window behind you, turning you into a silhouette.
- Using the highest webcam resolution for a tiny picture-in-picture.
- Forcing chroma key without a green screen or even lighting.
- Adding the same camera twice and wondering why the second one is black.
Troubleshooting
If the webcam shows a black screen, close other programs that might be using the camera, check that the correct device is selected in the source properties, and restart OBS. If the picture is frozen, try a different video format in the source properties, unplug and replug a USB camera, and test again. If the picture is too dark, add a light in front of you, raise the brightness in the camera settings, and avoid sitting against a bright window.
If the webcam is out of sync with your voice, adjust the sync offset in Advanced Audio Properties and test with a clap. If OBS does not list the camera at all, check your system camera permissions and whether the camera needs its own software or driver. For a black capture in general, see how to fix a black screen in OBS.
Frequently asked questions
How do I add a webcam to OBS?
Choose a scene, click the plus button in Sources, choose Video Capture Device, give it a name, select your camera from the Device list, and click OK. Then drag it to position it and resize it by dragging a corner handle.
Why is my webcam black in OBS?
Another program is probably using the camera, the wrong device is selected, or OBS does not have camera permission. Close other camera apps, check the Device list in the source properties, and restart OBS.
What resolution should I use for my webcam?
For a small picture-in-picture, 720p is usually enough. For a full-screen talking-head video, 1080p may be worth using if your camera and computer handle it smoothly. Test both and keep the one that stays smooth.
Can I use two webcams in OBS?
Yes, if your computer supports them. Add each camera as its own Video Capture Device source with a clear name, and place them in different scenes or positions. Do not add the same camera twice.
How do I remove the background from my webcam in OBS?
Use a Chroma Key filter on the webcam source if you have a solid green background with even lighting. Without a green screen, a plain, tidy background usually looks better than a poorly keyed result.
Conclusion
Adding a webcam to OBS is simple, but making it look good takes a few minutes of care. Close other camera apps, choose the right device, set a sensible resolution, place the camera at eye level with light in front of you, and frame the shot so your head and shoulders are clear. Test with a short recording, check the audio, and adjust one setting at a time. That short test will catch most problems before they reach a long recording or a live audience.